
Today, I finally decided to open up and take a look at my WiFi Pineapple Nano that I’d gotten as a presenter earlier this year. This was an interesting tool for me as I know very little about WiFi auditing. It isn’t something that I really have experience with, given that I normally am running on fast wired connections, but let’s give it a shot!
Setup
To start off, I read the WiFi Pineapple: A guide to the top WiFi auditing toolkit book that had come with the Pineapple. This provided a good primer on how WiFi works (at a pretty basic level), as well as how to setup the WiFi Pineapple for use. From this reading I was able to get up and running with the basics of my Pineapple lickity split! (While watching the neices get their nails painted by my wife)
The set up was a bit interesting, as I decided to set it up natively using my new Windows 10 machine. Had to dust off some “configuring Windows networks” skills.
The “TL;DR” version of the instructions was actually quite helpful for setting things up:
- Download the latest firmware from https://wifipineapple.com/downloads.
- Power on the device and connect it to your Windows or Linux computer via USB.
- Browse to
http://172.16.42.1:1471. - Follow the onscreen instructions to complete setup.
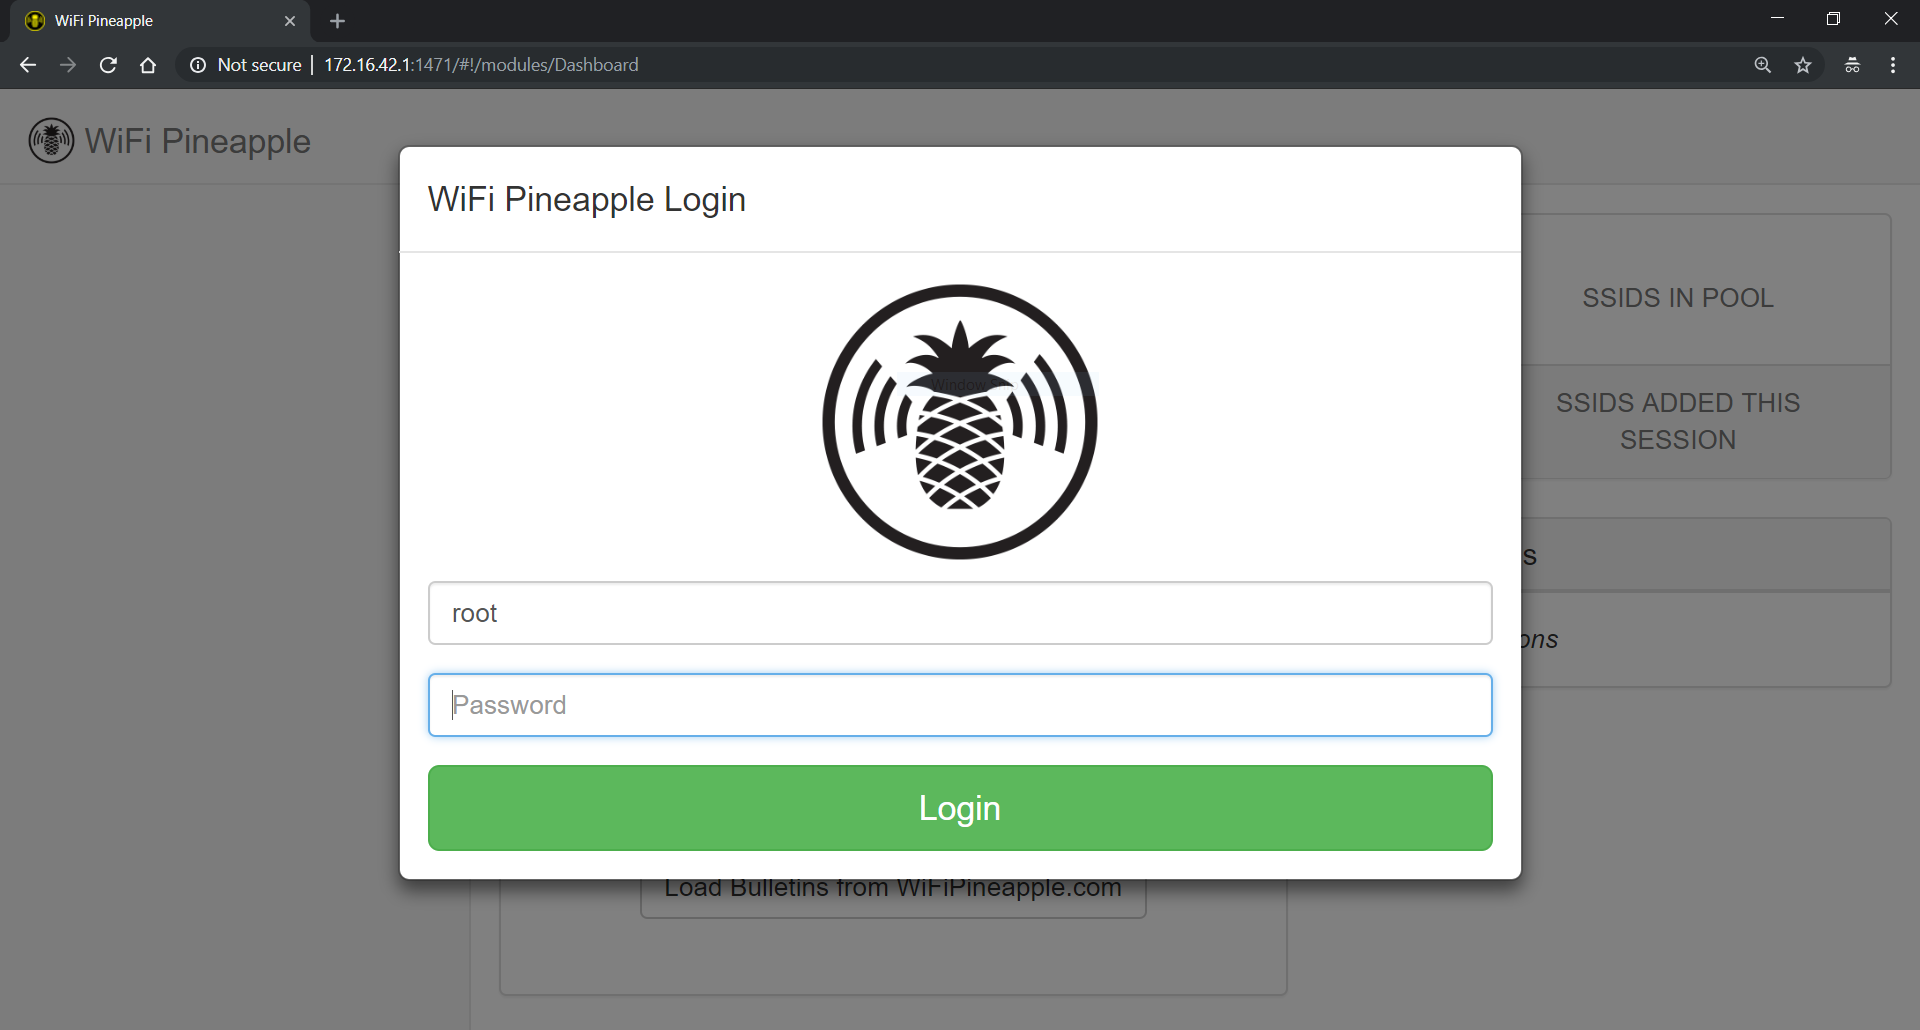
This setup worked well, and soon I was up and running with the pineapple dashboard!
Some Quick Investigation
I wanted to get some initial poking around in the reconaissance mode. Being that I was not on a real penetration test or engagement, I knew I would be limited in the scope of what I could do. Therefore, I focused on exploring the Pineapple dashboard and performing some basic reconaissance of the area (after getting permission from my father in law, whose house I was sitting in).
One of the first things that struck me was how little I was seeing in the live scan results… I knew that there should be a number of phones, tablets, computers, TVs, and at least one game console connected to the local network… But where were they?
Then it dawned on me that everyone was connecting to the 5GHz access point offering of the network, and not to the 2.4GHz which was all that the Pineapple Nano is capable of seeing. Well that makes sense then…
Getting on the Internet
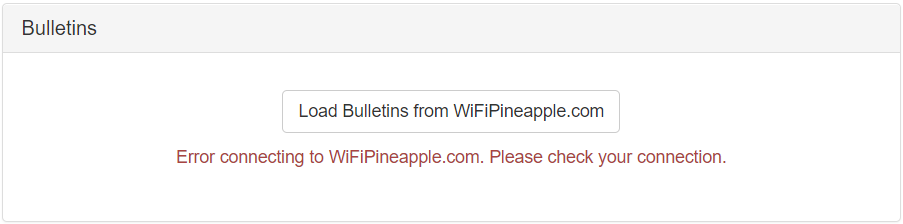
As I continued exploring the web UI, I noticed that I wasn’t able to get out to the internet… Well duh, I hadn’t configured the internet sharing from the Pineapple to the internet, leading to error messages when trying to perform actions that wanted to go out to the internet:
I tried to follow the instructions from the WiFi Pineapple book, but found myself not quick working properly… Hmm, that is peculiar. (Turns out looking back now at them, I understand where I went astray).
Since I was on a Windows host, the instructions were as follows:
- From the Windows Run prompt (keyboard shortcut
Windows Key + R) executencpa.cpl. - Locate the WiFi Pineapple network interface (note that for me this was identifiable by the name
ASIX AX88772A USB2.0 to Fast Ethernet Adapter). - Rename the network interface for the Pineapple to something easier to recognize (in my case I picked a generic
WiFi Pineapple). - From the host internet connection source (in my case
Wi-Fi 2), right-click the interface and select Properties. -
From the Sharing, tab, check the box labeled “Allow other network users to connect through this computer’s Internet connection” and select the
WiFi Pineapplenetwork interface from the drop down menu, and clickOK.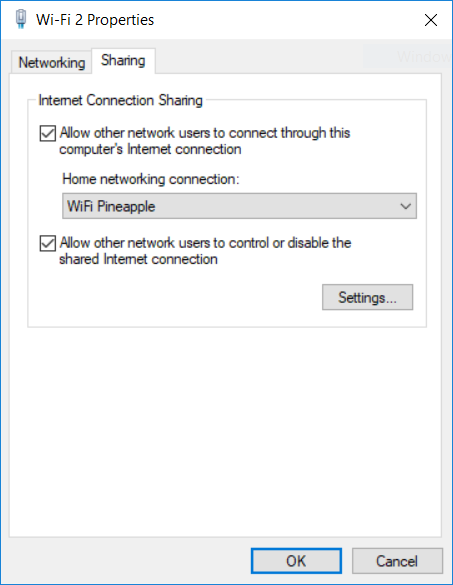
- Right-click the
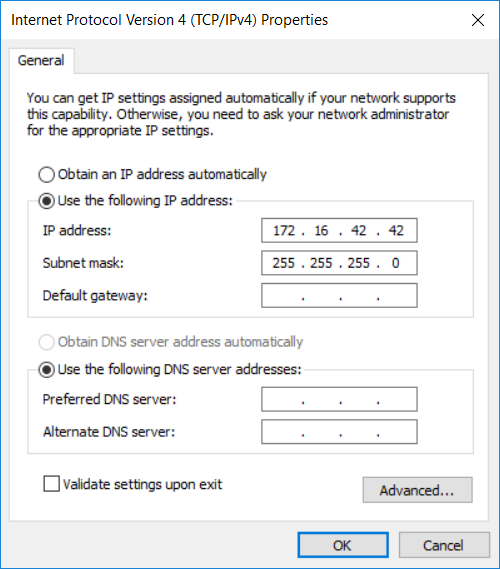
WiFi Pineapplenetwork interface and select “Properties”. - Select “Internet Protocol Version 4 (TCP/IPv4) and click “Properties”
- Replace the default IP address with
172.16.42.42, click OK, and click Close.
Now, the first time that I did this, interpretted the last step in the instructions as “set the default gateway to 172.16.42.42”. This didn’t make a lot of sense though, and that really should have been a clue…
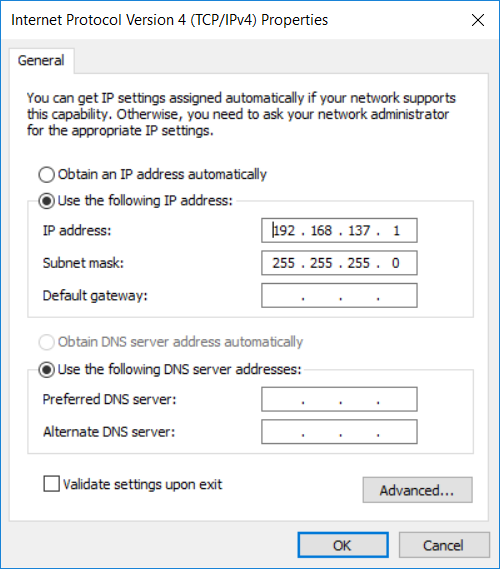
I did some troubleshooting and “Google-ing” around to attempt to find a solution, and after not much time, came across this forum post that led me to the solution. Namely, that they didn’t mean “default gateway” but instead meant the “IP Address” for the interface.
After getting this reconfigured, everything started working as expected and I was able to confirm it working by loading the bulletins from the dashboard page.
Pineapple Modules
After getting everything set up, I was able to load up the list of modules in the UI and see some of the options available to me:
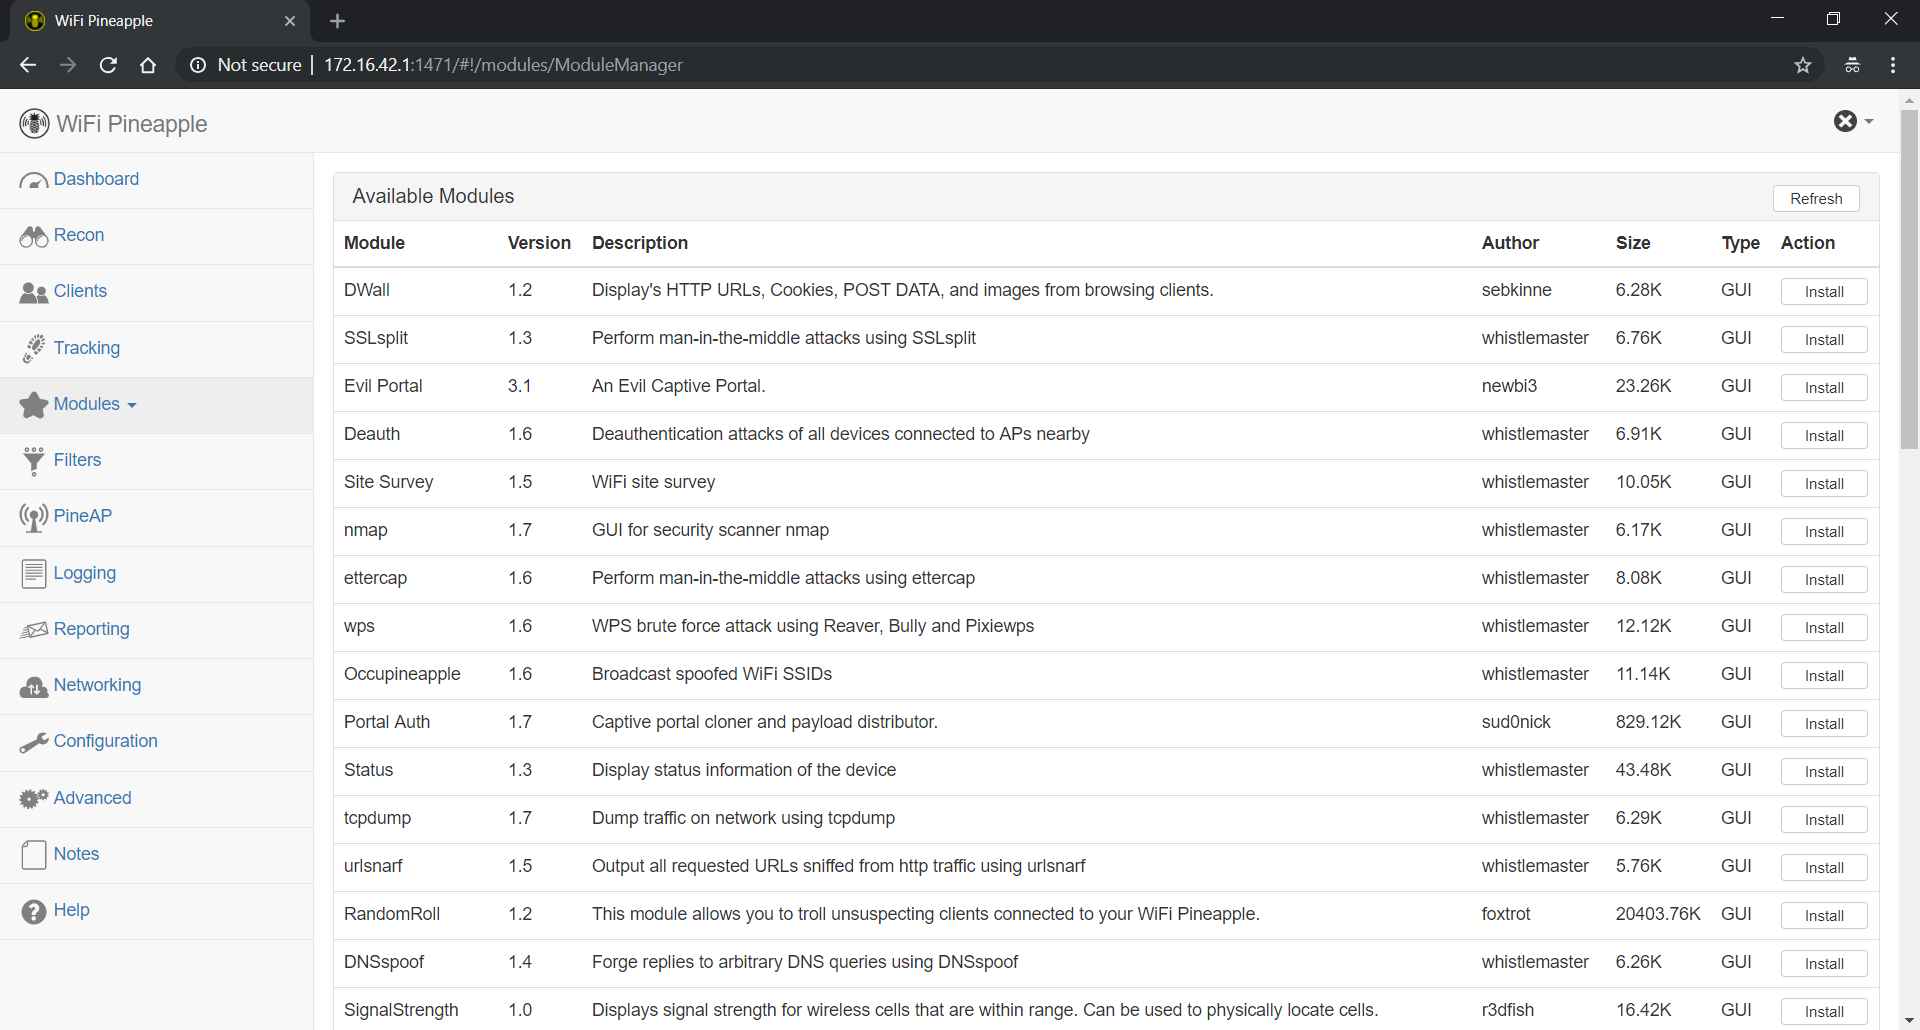
Given the scope of the activities that I was working on, I decided that the Site Survey module would be the best fit for checking out. I installed that plugin, and then clicked over to it in the modules list of on the left menu. There I was shown a screen indicating that I needed to install some dependencies which took just a minute to do. At this point I reached the configuration and scan screen:
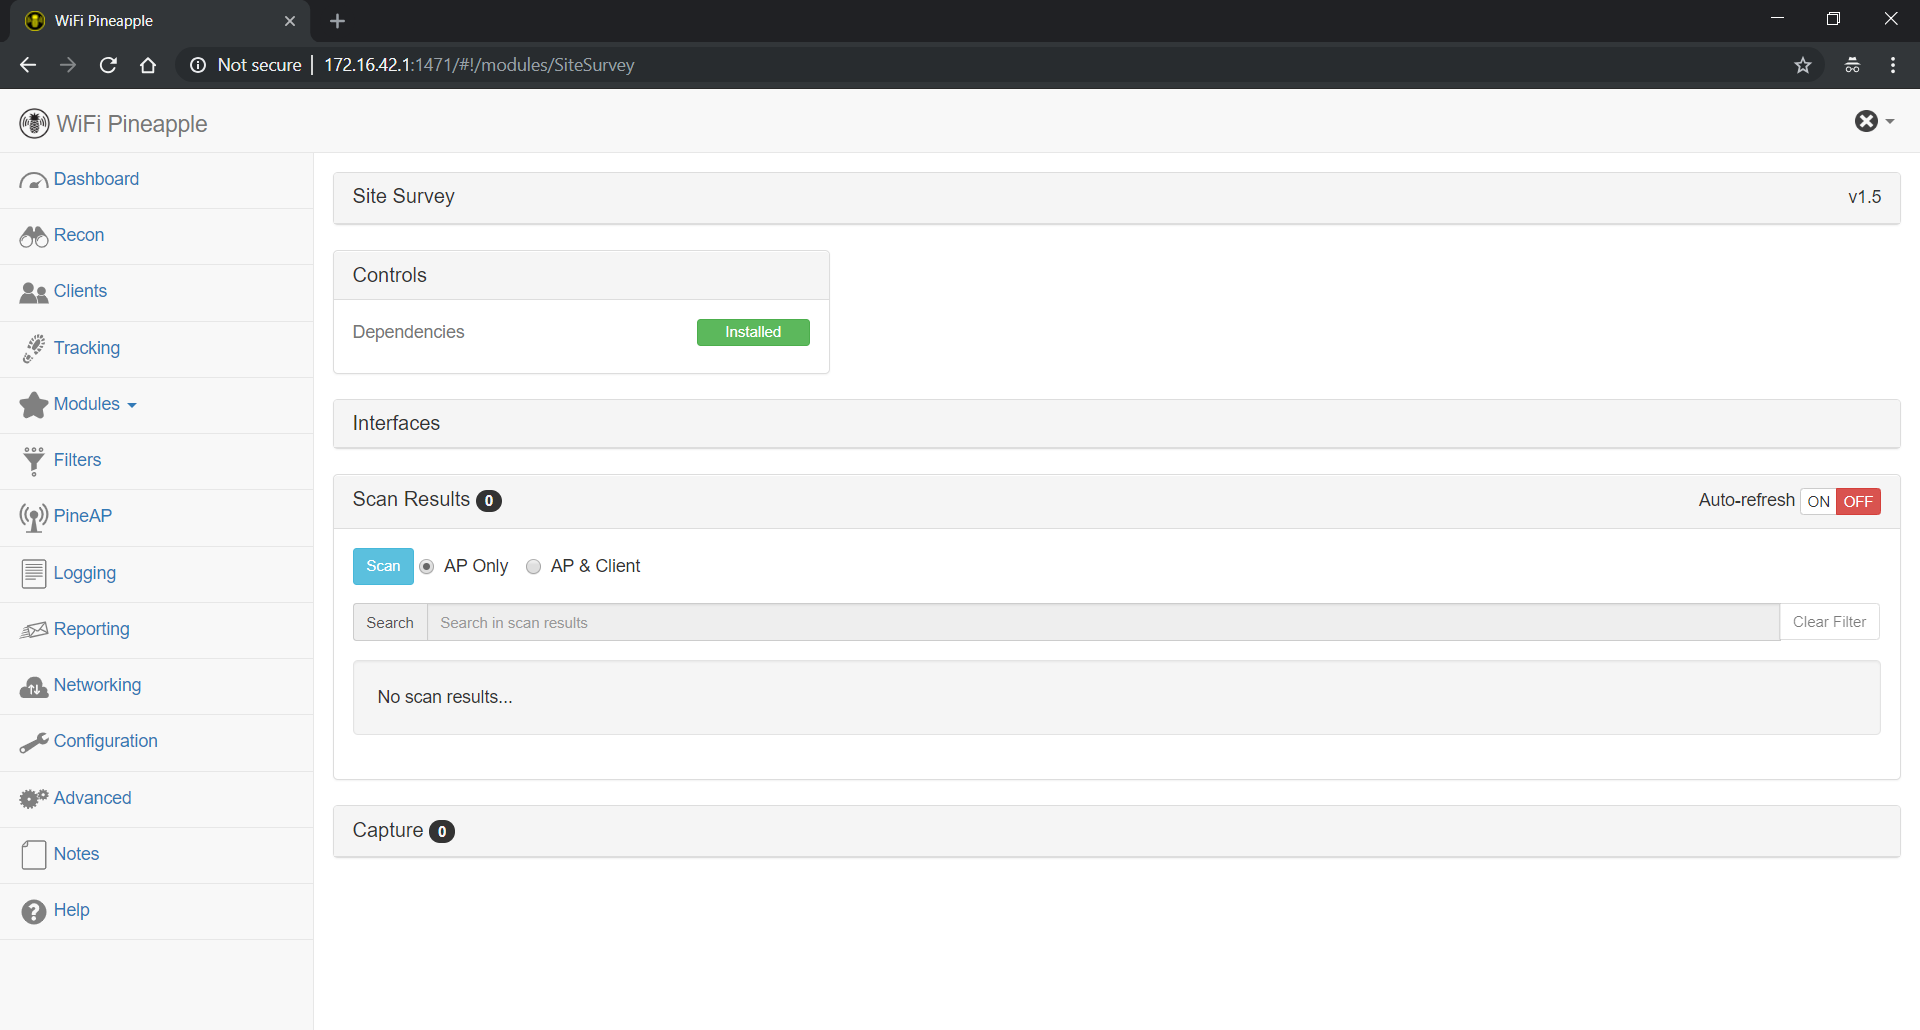
I did a quick survey of the surrounding area, yielding similar results to those obtained from the other Recon scan I did earlier.
At this point it was the middle of the day and there was more work to be done getting ready for Christmas festivities, so I decided to call it a break. Overall, this was a successful introduction to the Pineapple operating system and UI, and I look forward to playing with it more in the near future. Keep an eye out for a new post with more details about the adventures in Pineappling!
Comments